 |

Fitting a Cam
|
|
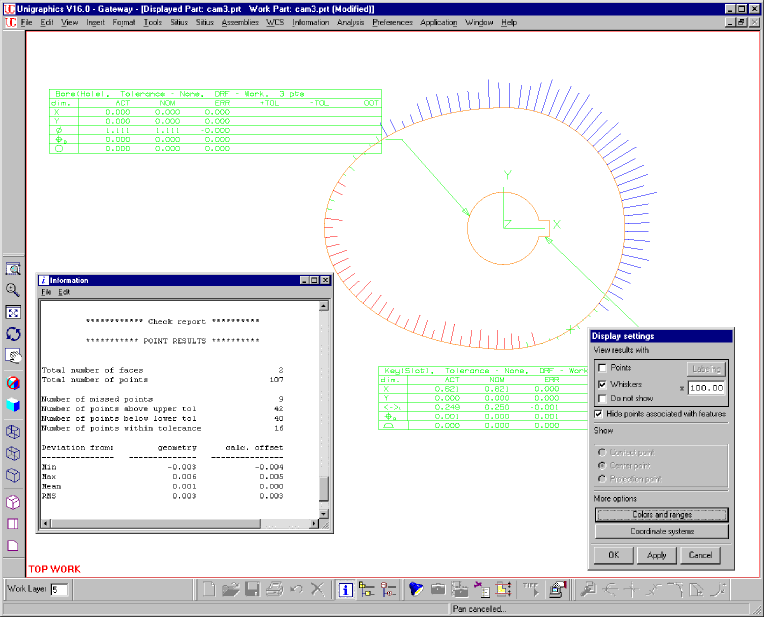
Before Bestfit |
Legend |
| whisker scale x100 | |
| green - in tolerance | |
| red - missing material | |
| blue - extra stock | |
|
|
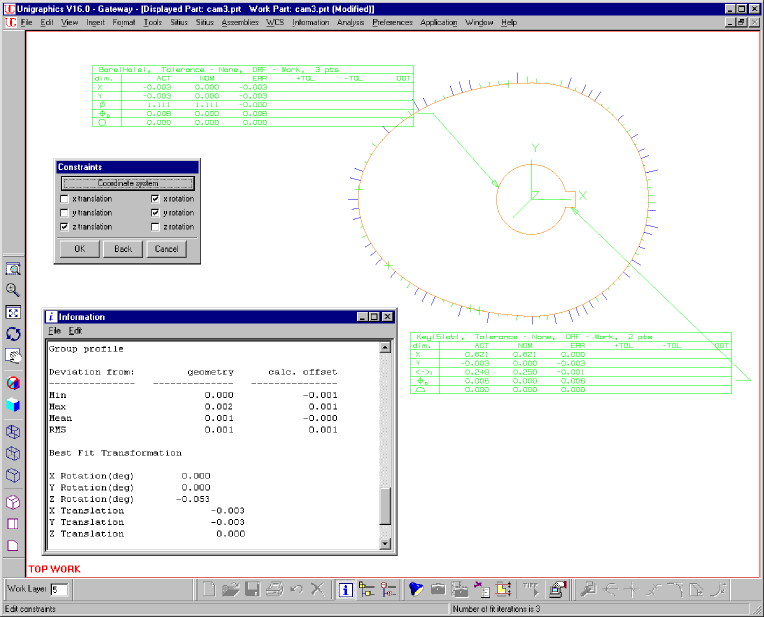
After Bestfit |
Legend |
| whisker scale x100 | |
| green - in tolerance | |
| red - missing material | |
| blue - extra stock | |
| The Part: | Camshaft inspection and correction |
| The Process: | Cam inspection Use scanning to collect the point data on the cam profile. Inspect the cam by using datum feature alignment (top plane, center bore and key). Provide any corrective information if needed. |
| The Results: | The inspection in the first picture shows the results when the part is aligned on the datums. The color-coded whiskers clearly show that the profile is displaced in relation to the datum reference frame. Performing best fit improves the standard deviation about three times. However the center bore and the key have to be repositioned to achieve this (the results in the feature control frames show the new values). The entire CMM inspection and analysis process take less than 15 minutes. |
| Highlights: | Whiskers offer clear representation of the profile error in the 2D case. |
Sitius Inc., Copyright 1998-2015

